Getting started
Item setup
Item setup methods
Item content, imagery, and media
Variant management
Resold
Automotive fitment
Troubleshooting
Catalog management
Seller Fulfillment Services
Listing optimization
Order management
Taxes & payments
Policies & standards
Growth opportunities
Advertising
Walmart Fulfillment Services (WFS)
Walmart Seller app


This guide shows you how to add multiple items to your catalog in Seller Center by matching them to products that are currently listed on Walmart.com. If you’re adding new items to your catalog that aren’t currently offered on Walmart.com, review Add multiple items: Full setup.
Match Walmart's catalog
Step 1 — Get started
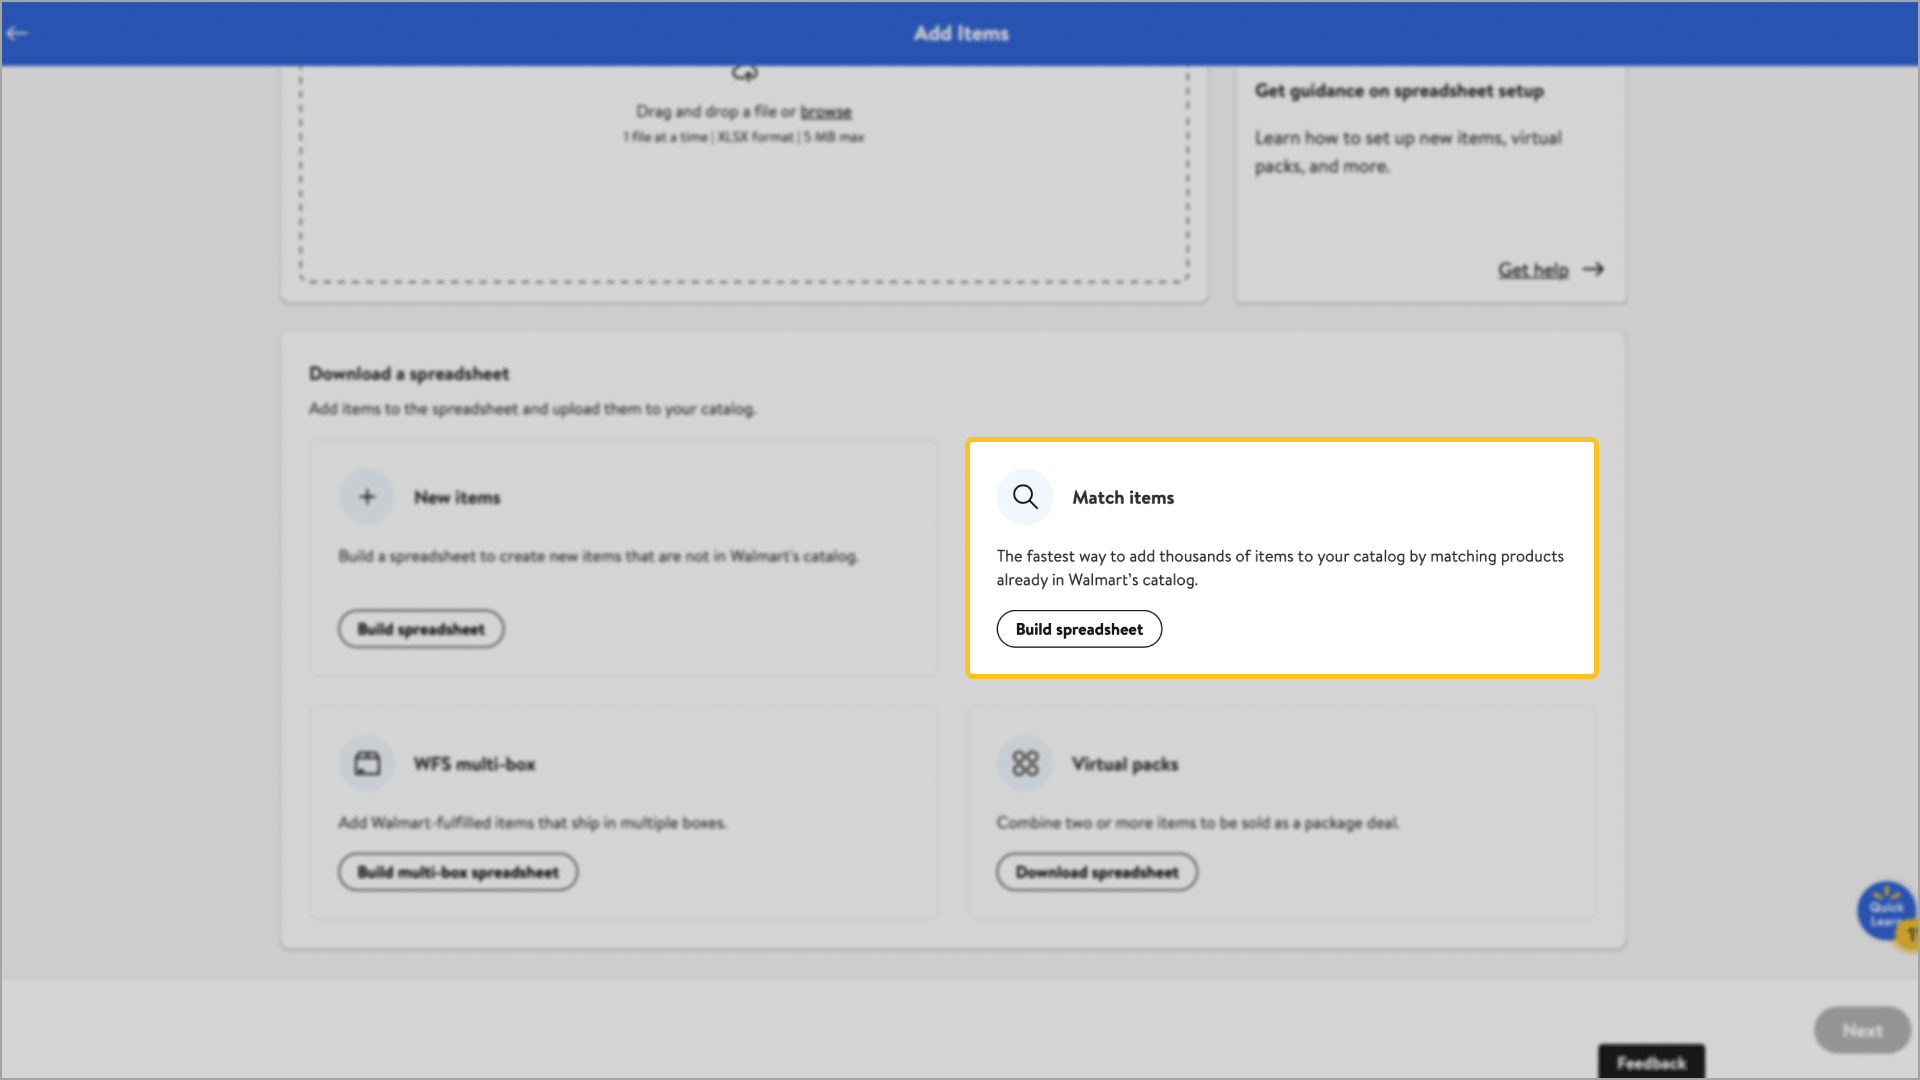
Navigate to your Catalog in Seller Center and select the Add items button. Select the Upload in bulk link under Add thousands of items using a spreadsheet. On the next page, navigate to the Match items section and select the Build spreadsheet button. If you sell in multiple markets, choose the markets you want to apply the changes to.
Step 2 — Download and complete the template
Choose how you want to fulfill your items and select Download file. Then, open the template. Template sections are grouped by their requirement level: Required, Conditional/Required for Specific Conditions and Optional.
- SKU: This is required to successfully set up your offer.
- Required: This first section must be completely filled out. If any fields are missing, you’ll receive data errors.
- Conditional/Required for Specific Conditions: The Main Image URL of the item is required for the following conditions: Remanufactured, Pre-Owned: Like New, Pre-Owned: Good, Pre-Owned: Fair or New with defects.
- Optional:
Additional Image URL: You can add additional images for an item. Make sure your images follow the Product detail page: Image guidelines & requirements.
Sales Restrictions: If the product must or should be prohibited from being sold in certain states and ZIP Codes because of legal or commercial reasons, you must fill out these details.
Failing to provide the required attributes or conditionally required information, modifying the data in the first six rows of your template and more will lead to data errors. Check out Troubleshoot item setup errors to learn more.
Step 3 — Upload the template
To upload your completed template, navigate to your Catalog in Seller Center and select Add items. Select the Upload in bulk link located under Add thousands of items using a spreadsheet. You can drag and drop your file onto the browser window under Upload, or select the browse link to locate the file on your computer.
After submitting your template, you can track its status from the Activity Feed in Seller Center. Updates may take up to 24 hours. Any data errors that are detected during the updates will require extra processing time.