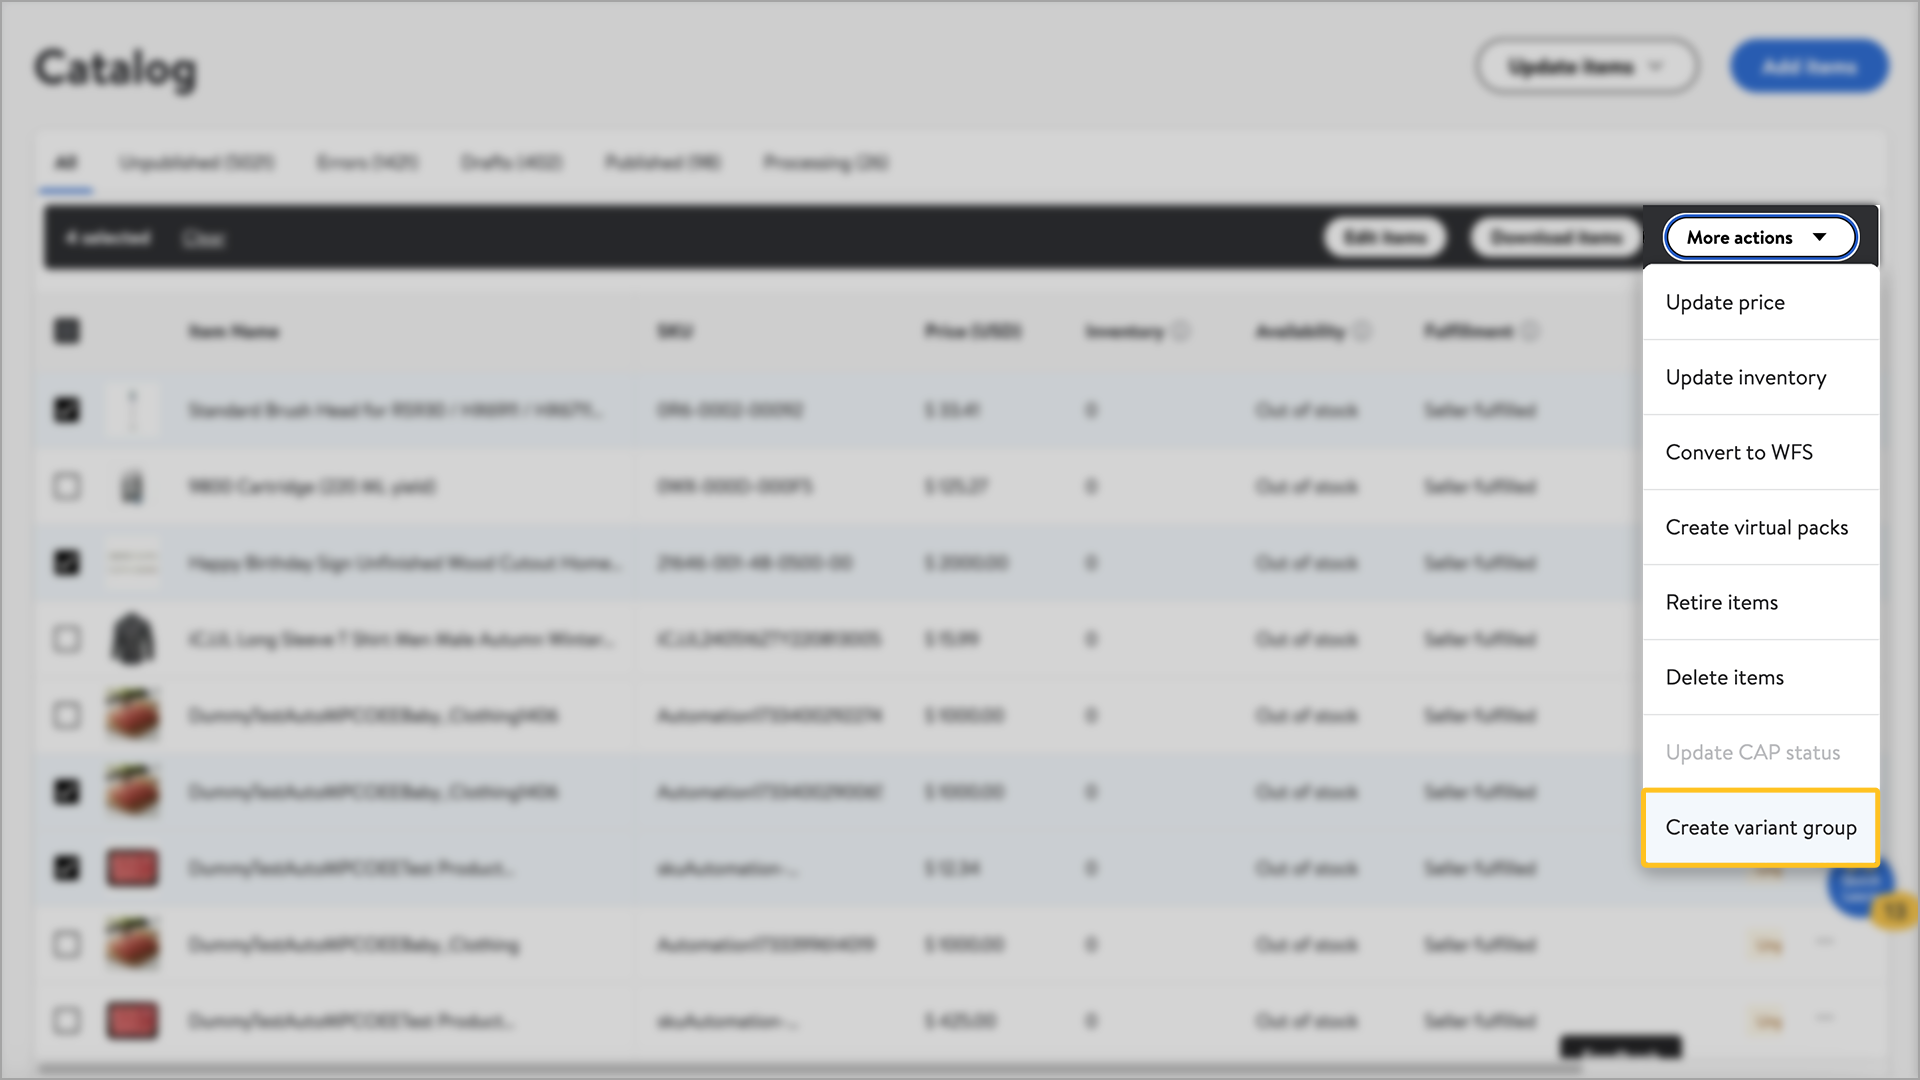
As a Marketplace seller, you can create variant groups in Seller Center or using Walmart APIs. In this guide, you’ll learn how to create a variant group for a group of up to 49 existing items using the Catalog page.
Too many variations can be confusing for customers. We recommend no more than 50 items for a variant group with a single attribute (a T-shirt in two colors and three sizes) and no more than 500 items for a variant group with multiple attributes (a pair of pants in 25 sizes and 20 colors).
Create a new variant group
Step 1 — Get started
Navigate to the Catalog page in Seller Center. Next, search for your items by SKU or Item Name using the search bar. Select the check box next to each item you want included in your variant group. Select the More actions dropdown menu, then select Create variant group. Select Create variant group again when the popup window appears.
If you try to include more than 49 items in your group using the Catalog page, you'll get an error message. Selected Items must be part of the same product type group.
Step 2 — Add the group details
On the next screen, enter the details in each box accordingly:
Choose a variant group ID: The variant group ID is a unique alphanumeric identifier you'll choose for this group, up to 20 characters long (for example, DryFit_VG5). You’ll use it to track your variant group in the Catalog dashboard once it’s been created.
Select Primary Variant: Select the primary variant to be displayed in search. Primary variants provide suggestions on what item should be highlighted in search for the variant group. The primary variant highlighted for the group and the in search may vary as Walmart determines what item is displayed to the customer. Select the star icon next to the item to make your selection.
Select variant attribute names: Select up to three variant attribute names for the group. These indicate which attributes vary within the group, such as size or color. For example, if an item comes in small, medium and large, the variant attribute name would be size.
You can’t create multiple variants with identical values. Variant attributes that have the same values, such as size and color, on multiple items will be flagged as an error. Review your items for accuracy and make necessary changes to item details and variants before submitting.
Step 3 — Remove items if needed (optional)
If there’s an item you don’t want to include in the group, select X in the Actions column to remove it.
There’s no undo function when you remove an item using the Actions column. Make sure you remove the correct item, or you’ll have to start the process from the beginning.
Step 4 – Confirm details and submit
When all fields are complete, select Submit.
