You can use Simplified Shipping Settings to set up shipping for an item group based on product type, brand, and item price and weight. For example, you can create a rule to always use FedEx Overnight to ship laptops priced over $1,000. In this guide, you’ll learn how to manage item group settings.
Creating an item group is optional. Before you get started, make sure to apply Simplified Shipping Settings to existing items.
Most domestic USPS, UPS and FedEx services are supported if you offer free shipping. Simplified Shipping Settings is not compatible with Ship to Store items, virtual packs, international or freight shipping, or third-party logistics services such as Flexport.
Manage item group settings
Step 1 – Get started
Navigate to the Simplified Shipping Settings page in Seller Center and select the Item groups settings tab. Then select the Edit draft button.
Step 2 – Create item group
Select the Add new button. You’ll name the item group, then provide the condition settings. For example, you can add conditions that specify the product type, brand, price and weight of the items in your item group. When you’re ready, select Next.
On the next page, choose your preferred carrier and carrier service, such as FedEx and FedEx 2Day. Then select the Assign fulfillment center link and choose your fulfillment centers. For example, you can choose to apply the FedEx and FedEx 2Day settings only to fulfillment centers in specific states.
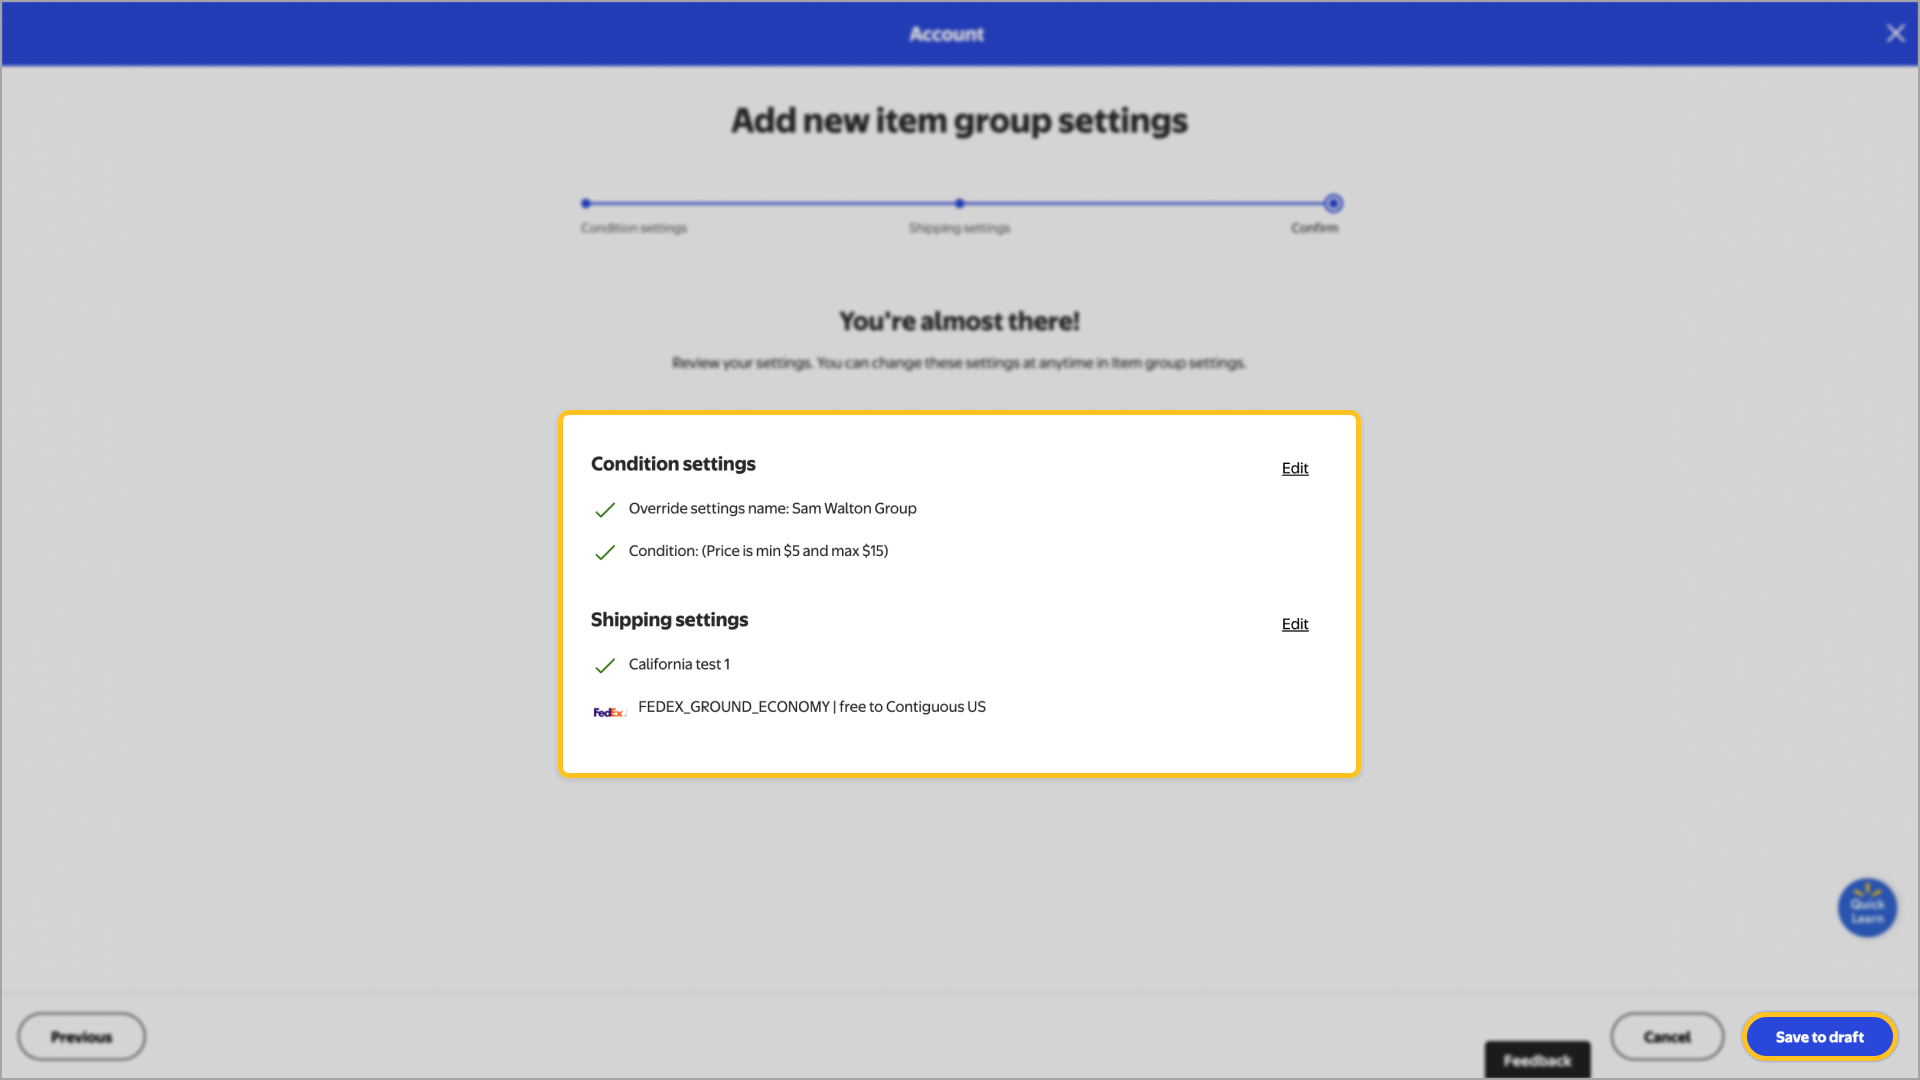
Select Next to review your information and make any final edits. Select Save to draft to save the new item group and its settings as a draft, and to return to the Manage item groups settings page. When you’re ready to publish the new item group, select Publish.

You can publish edits to an item group only once every 24 hours. We recommend waiting until you can publish a group of edits together. Edits will take effect within an hour after they’re published.
Step 3 – Update item groups
To update and manage existing item groups, navigate back to the Simplified Shipping Settings page and select the Item groups settings tab. Then select the Edit draft button. You can manage your item groups using any of the methods below.
Remove: To delete an existing item group, navigate to the Item groups section and select the Remove link. Choose an item group and select the Remove button.
Edit: To edit an existing item group, navigate to the Item groups section and select the Edit button. Choose an item group and select Continue. Then, follow the steps to edit the item group settings.
Rearrange priority:You can choose the priority of your shipping settings. The shipping settings with the highest priority (at the top of the list) are applied first. To manage the priority of your item groups, navigate to the Rearrange priority section and select the Edit button. Then, hold and drag an item group to move it to the position you want.
Paid Shipping: Select Custom Shipping Rate option to charge customers for standard shipping and handling or a shipping fee per item or weight and region. Once you've reviewed the total fee including shipping and handling along with the shipping fee per item or weight, select Continue. Ensure that all information has been provided then choose Save settings. The total includes the standard shipping and handling fee as well as shipping fee per item.