Getting started
Item setup
Catalog management
Walmart Fulfillment Services (WFS)
Seller Fulfillment Services
Listing optimization
Order management
Taxes & payments
Policies & standards
Growth opportunities
Advertising
Walmart Seller appNew
In this guide, you'll learn how to add domestic and international shipping settings using Shipping Templates in Seller Center.
Add settings
Step 1 — Get started
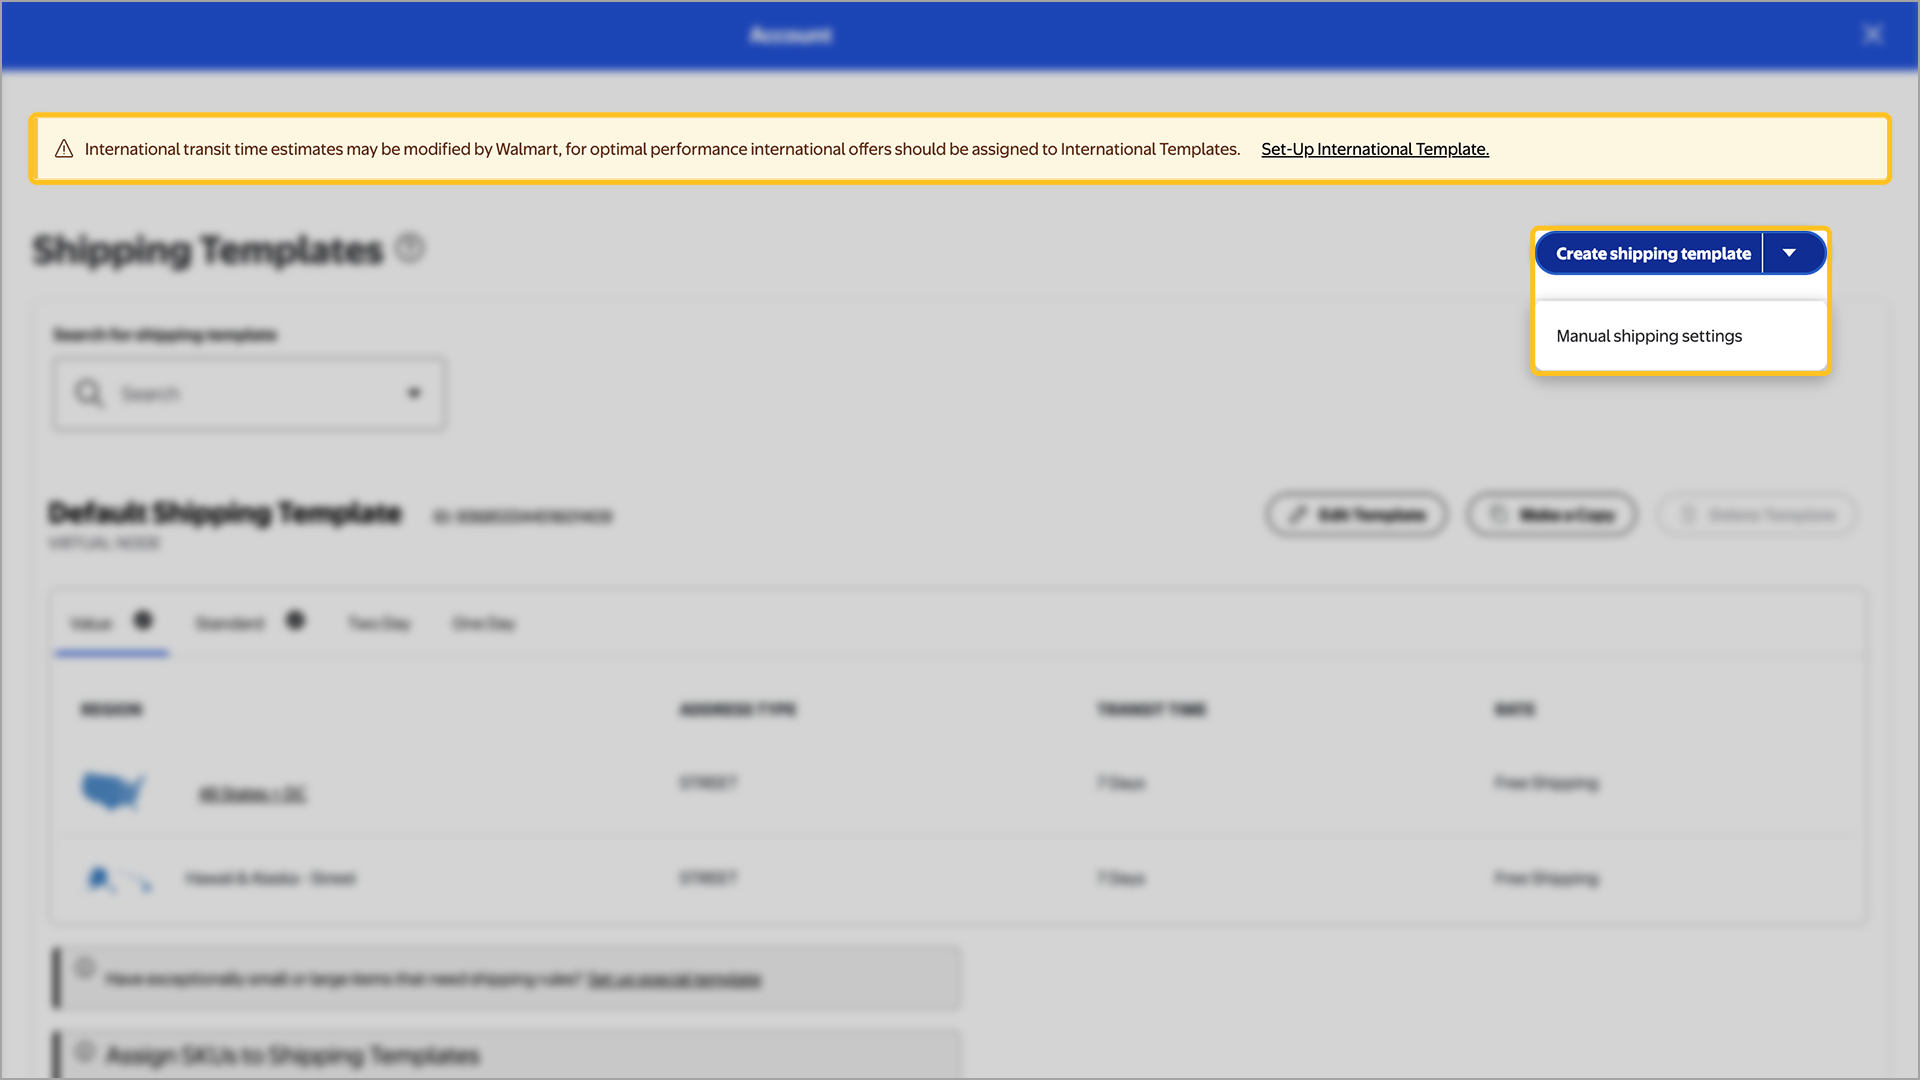
Navigate to the Shipping Profile page in Seller Center and select Shipping Templates.
Step 2 — Create a template
Select the Create shipping template button and choose one of the following:
Manual shipping settings: Create a template for items that will be shipped from the U.S.
International shipping settings: Create a template for items that will be shipped from China, Hong Kong or India. You must use this option if you want to set up international transit times (7, 9 and 13 days).

Step 3 — Add shipping rules
Select Edit template name, then customize your shipping settings under the Shipping Methods and Regions section. For an international template, choose the country of the fulfillment center location. Select the transit time you want to change from the dropdown menu to add new shipping rules for each shipping method and region.
You may update shipping costs under Rate. Shipping costs are subject to the Egregious Shipping Cost rule. When you’re done, select Save Template.
Shipping methods are available based on whether you’ve chosen domestic or international shipping. For example, OneDay shipping is available for shipping within the U.S., but not for shipping from China, Hong Kong or India.
Step 4 — Assign SKUs to the template
After creating your template, you'll need to assign SKUs to your template to define shipping rules for each item. If you recently added a seller-managed fulfillment center in Seller Center, you must wait four hours before you can assign SKUs to the fulfillment center. If you don’t wait the required time, your shipping settings will revert to the Default Shipping Template and the desired template you created won’t be activated.
You can confirm if your mapping was successful using the Activity feed dashboard.
You can set up TwoDay to designated regions and sub-regions to accommodate any shipping constraints. You’re responsible for verifying if products can be delivered on time, and for listing any constraints such as weight, distance or other factors that may prevent timely shipping.