

You can set up a Search Engine Marketing (SEM) campaign in Seller Center if you have admin access to your Seller Center account. If you don’t have admin access to your account and would like to set up a campaign, reach out to your administrator. In this guide, you’ll learn how to set up Custom or Quick start campaigns.
Set up a campaign
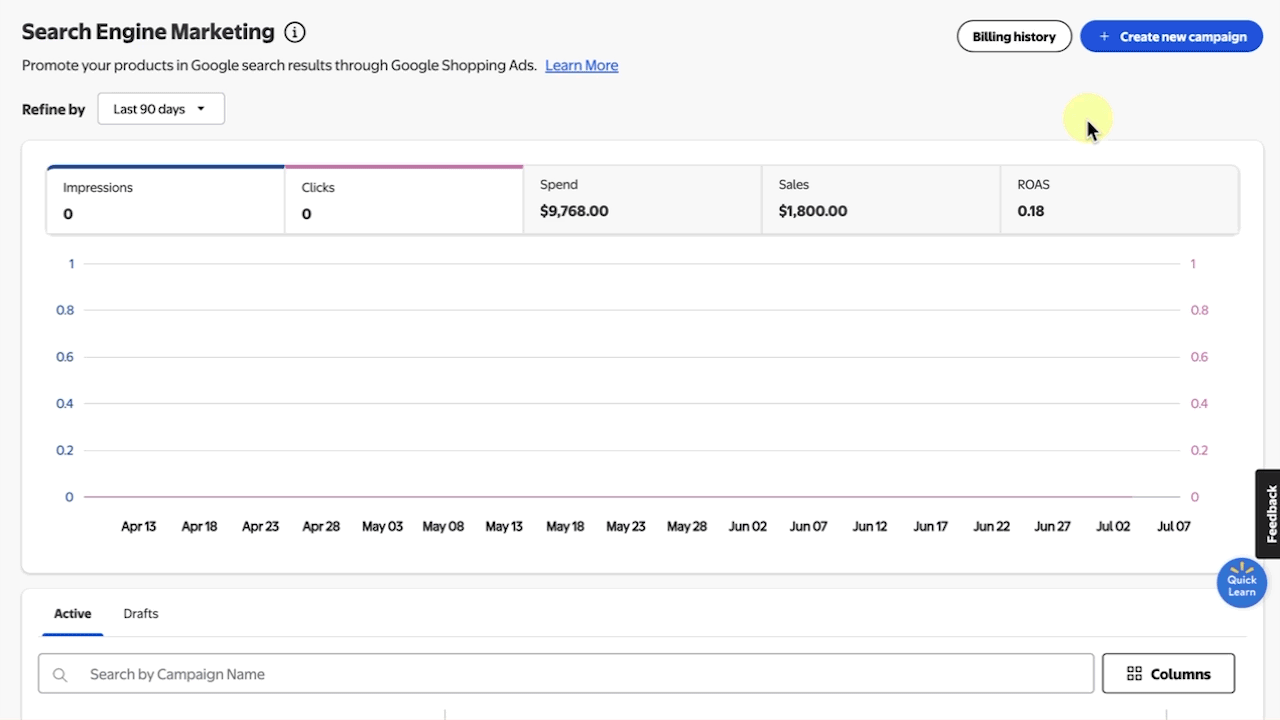
Step 1 – Get started
Navigate to the Search Engine Marketing page in Seller Center. From the upper right corner of this page, select + Create new campaign to create either a Custom or Quick start campaign.
Once you’ve chosen a campaign type, select Continue to enter campaign details.
When selecting Quick start, you can review a recommended list of items that have high sales potential. These items are automatically added to your campaign. The Quick start campaign option is only shown if you have sufficient suggested items.
Step 2 – Add campaign details
Next, add a unique campaign name. You can add items individually or in bulk.
To upload items individually, search for the item name, SKU or item ID and select the checkboxes next to the items you want to add.
To upload items in bulk, select Bulk Upload to download a blank Item ID or SKU template. Fill it out, then upload the file and select Submit on the Select items in bulk screen.
You can search for multiple item IDs or SKUs at once by pasting a comma-separated list into the search bar. Filters are also useful to identify items with the highest performance potential.
If your bulk upload resulted in a partial failure, download the failed item report to understand the reason for the failure. It may take two to three days for the error to be resolved after you take the appropriate action. Not all items in your catalog may be eligible to be added to a campaign.
Toggle on the Show selected button for a complete list of the items chosen for the campaign.
Under Scheduling and budget, select a start date and a daily budget for your campaign. The start date is automatically set to the next day and no end date is set by default.
To add an end date, toggle off the No end date button. The end date must be at least 21 days after the start date. Next, select a Bidding strategy. Choose between Maximize clicks or Target Return on Ad Spend (tROAS). Choose the right strategy that fits your specific goals for your products.
This table outlines the strengths, budget considerations and best practices for each strategy.
Maximize clicks | Target Return on Ad Spend (tROAS) | |
|---|---|---|
Objective | Walmart automatically sets bids to get as many clicks as possible within your budget. | Walmart automatically sets bids to maximize sales based on your Target Return on Ad Spend (tROAS). |
Best for |
|
|
Concerns | Your returns may fall below expectations if your goal is to maximize clicks. | You may not spend your entire budget unless the tROAS is achievable. |
Tips for success | Start with Maximize clicks. Switch to tROAS when your campaign has generated sufficient data to optimize the algorithm. |
|
Step 3 – Launch the campaign
Finally, select Start campaign. On the day you create the campaign, the status will display as Scheduled and will change to Running once it’s live on the start date.