Getting started
Onboarding
Account settings
Seller Center Notifications
Update my Profile Settings in Seller Center
Manage Company Information in Seller Center
Manage Contact Information in Seller Center
Manage Tax Information in Seller Center
Manage Business Information in Seller Center
Manage Shipping Information in Seller Center
Manage Your Returns in Seller Center
Add a New User to my Seller Center Account
Delete a user from my Seller Center account
Manage User Information in Seller Center
Manage Seller Agreements in Seller Center
Disable 2-Step Verification in Seller Center
Enable 2-Step Verification in Seller Center
Set Up and Update Your Payment Info
Forgot Password - Seller Center
Getting ready to sell
Troubleshooting
Item setup
Catalog management
Listing optimization
Order management
Taxes & payments
Policies & standards
Growth opportunities
Shipping & fulfillment
Walmart Fulfillment Services (WFS)
Other Topics


- Overview
- Access the Catalog Page
- Manage Items Dropdown Options
- Manage Your Items Using the Insights Section
- Manage Your Items from the Action Bar
- Search for Specific SKUs or Item Status
- Search Filters
- Edit Item
- Infinite Scroll Option
- Make Quick Updates to an Item’s Price or Inventory
- Update an Item’s Price
- Update an Item’s Inventory
- Retire an Item
- Customize the Grid Using the Configure Option
- Download Your Item into an Excel Report
The Manage Items Dashboard provides a snapshot view of your items and allows you to manage your pricing and inventory on Walmart.ca.
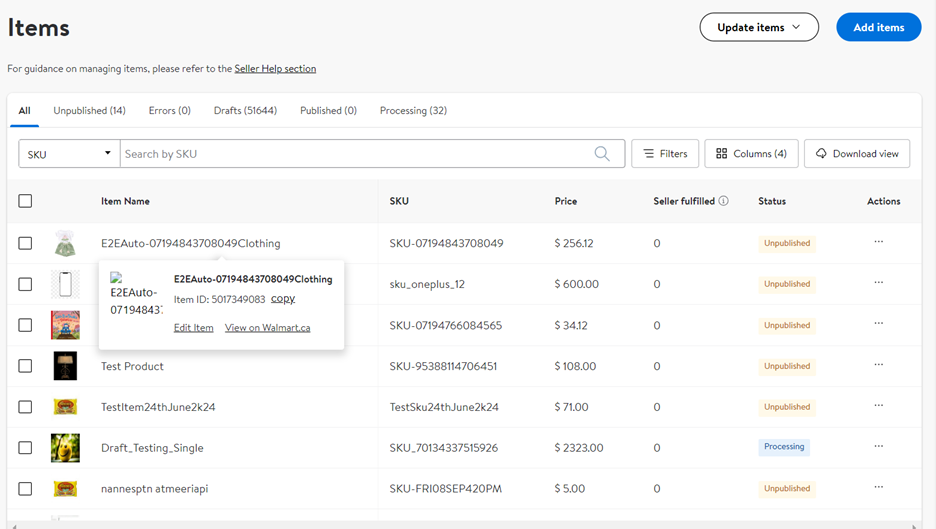
Access the Catalog Page
- Go to the Catalog option in the left navigation pane in Seller Center. This dashboard is divided into three sections:
- The Insights section - Gain information on the state of your items.
- The Action bar - Search for items in your catalogue.
- The Grid – View a list of the items in your catalogue. This list can be filtered using either the Insights section or the Action bar.

Manage Items Dropdown Options
There are 2 options here:
- Add Items
- Update Items

The Insights Section
The Insights section at the top of the dashboard offers a high-level snapshot of the state of your items.
Insights Status | Definitions |
Published Items | The number of live SKUs in your catalogue. |
Unpublished Items | The number of SKUs in your catalogue that must still be made live. They might have been unpublished for several reasons, including a Pricing Policy violation or a Trust and Safety violation. |
Items Processing | The number of SKUs in process through our feeds.
|
Items with Errors | The items that have encountered a system error while setting up. You should resubmit the item(s) in this error state. |
The Action Bar
The Action Bar allows you to:
- Search
- Download your items into Excel.
- Filter this page to search for a specific SKU or status.
- Use the View Builder to adjust the columns displayed.
- This can be done while changing language from Multi-mart dropdown.
Search for Specific SKUs or Item Status
- Click the Filter icon to search for your items in the Manage Items dashboard. This will open a menu where you can narrow your search.

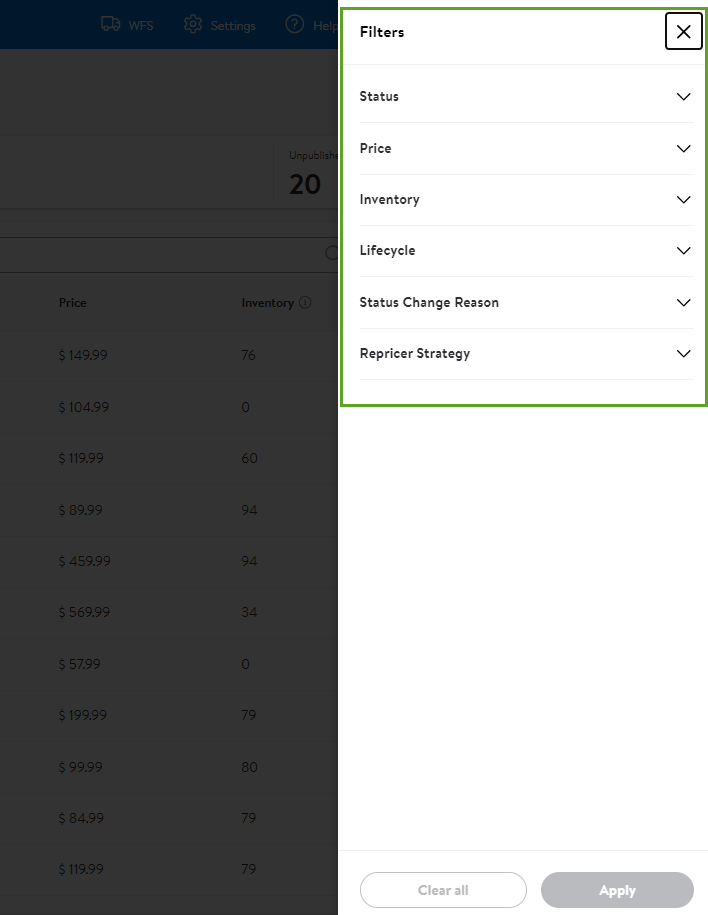
2. After you have added your filters, click the Apply button. A list of the items matching your search criteria will be displayed in the Grid area.
Search Filters
Filters | Definitions |
GTIN | The Global Trade Item Number, a product identifier unique to this item. |
Inventory Status | Whether the item is available (in stock) or out of stock. |
Item ID | The ID of that item on Walmart.ca. This ID can be found at the end of the URL for the Item Page of that item. |
| The status of the item. |
| The number of items in your catalogue that are live on Walmart.ca if they have inventory. |
| The number of items in your catalogue that are not live. They might have been unpublished for several reasons, including price parity, trust, and safety violation. |
|
|
| The items that have encountered a system error while setting up. You should resubmit the item(s) in this error state. |
| The items that have been successfully set up but are in a draft state until you launch. Once we activate you as a Seller, items will never reenter this draft status. |
| Once we activate you as a Seller, there is a brief period where your items transition into a Ready to Publish state. However, this is a temporary state and will only be triggered during your initial launch. |
| The item's price range (excludes shipping). |
| The full product name of that item. You can enter either the complete product name or a partial product name. |
| The SKU you assigned to the item during Item Setup. |
| The reason that a particular item change status. For example, items are unpublished when missing an image or violating our pricing rules. For more information, see Status Change Reasons in the Item Report . |
| The Universal Product Code, a product identifier unique to this item. |
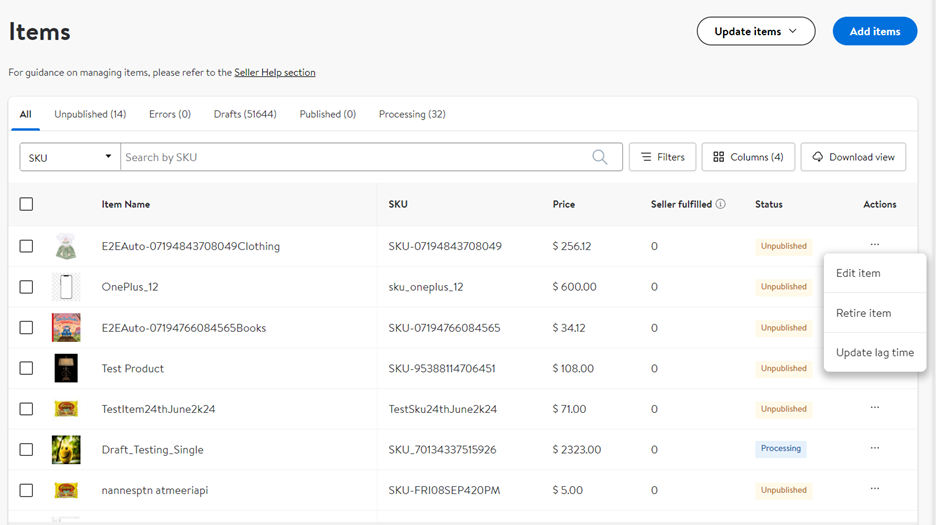
Edit Item
Please review the Make Item Updates Seller Help article for steps to edit a single item or Item Maintenance Spec for Bulk Updates.
Single Item Edit
Bulk Items Edit

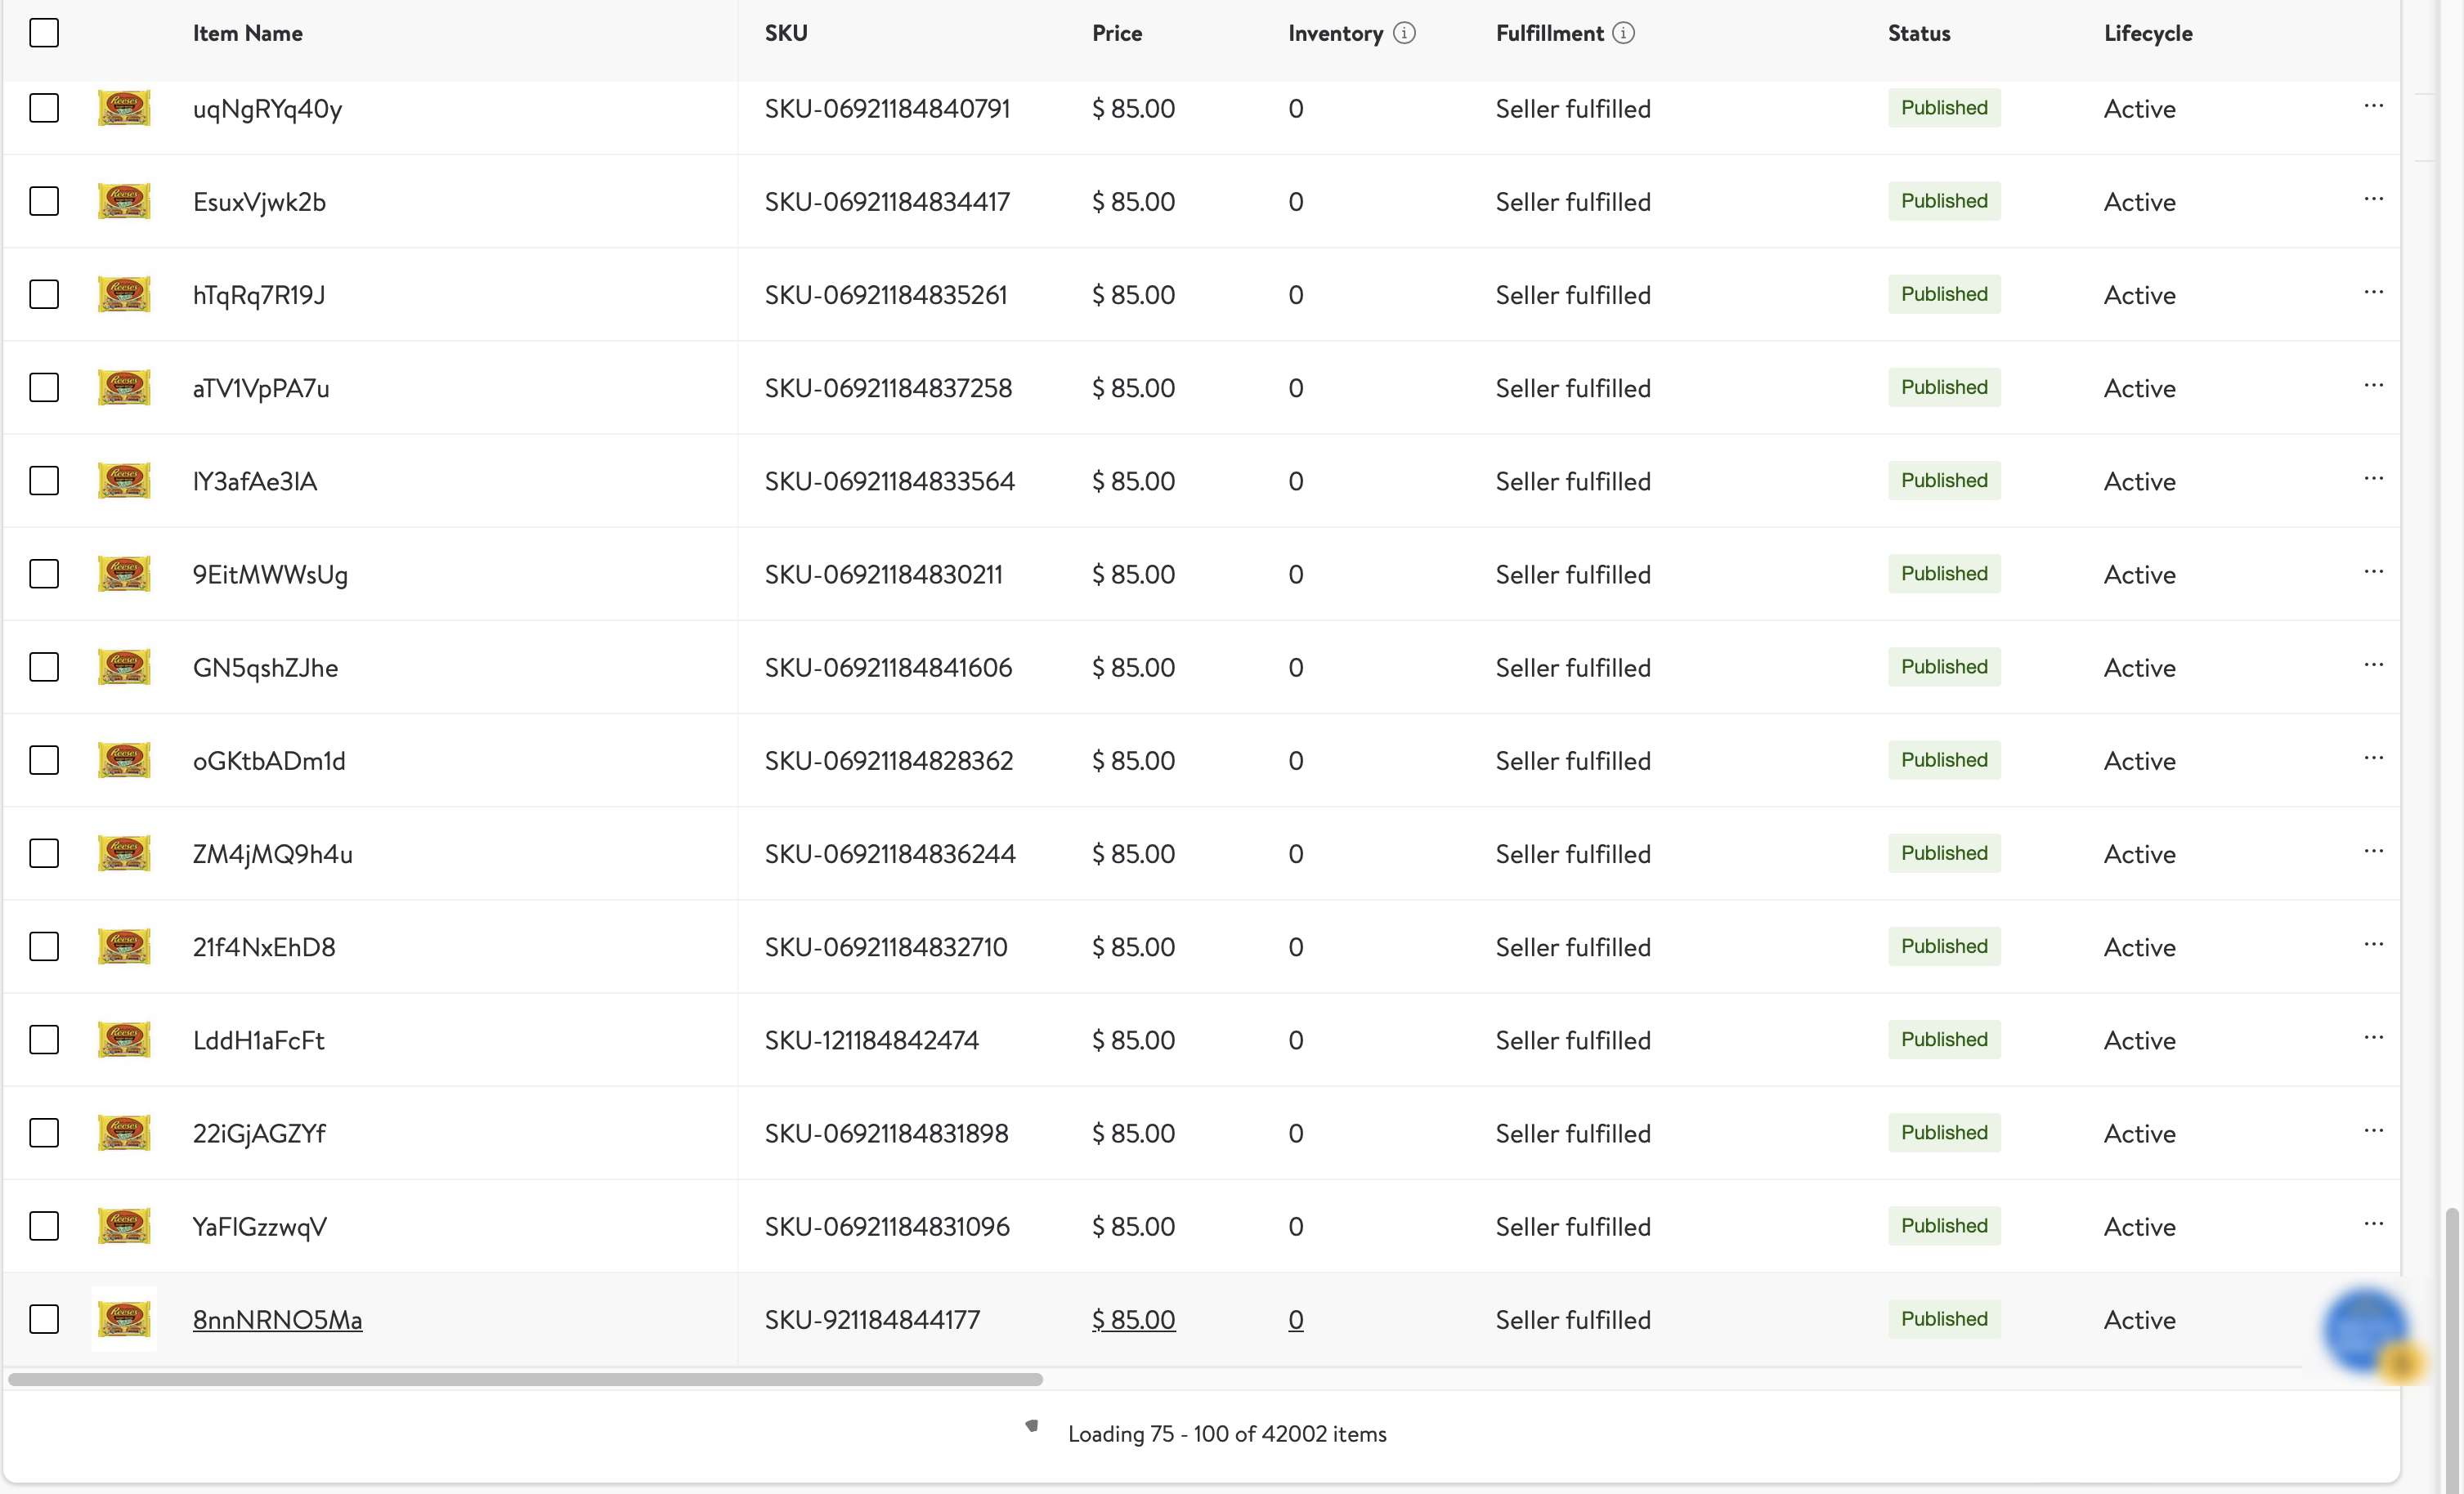
Infinite Scroll option
We no longer have a pagination feature. Instead scroll to the next set of items to show more results automatically.
Make Quick Updates to an Item's Price or Inventory
The Action Bar allows you to quickly update the price or inventory for an item. You can also retire an item, which unpublishes your item from Walmart.ca.
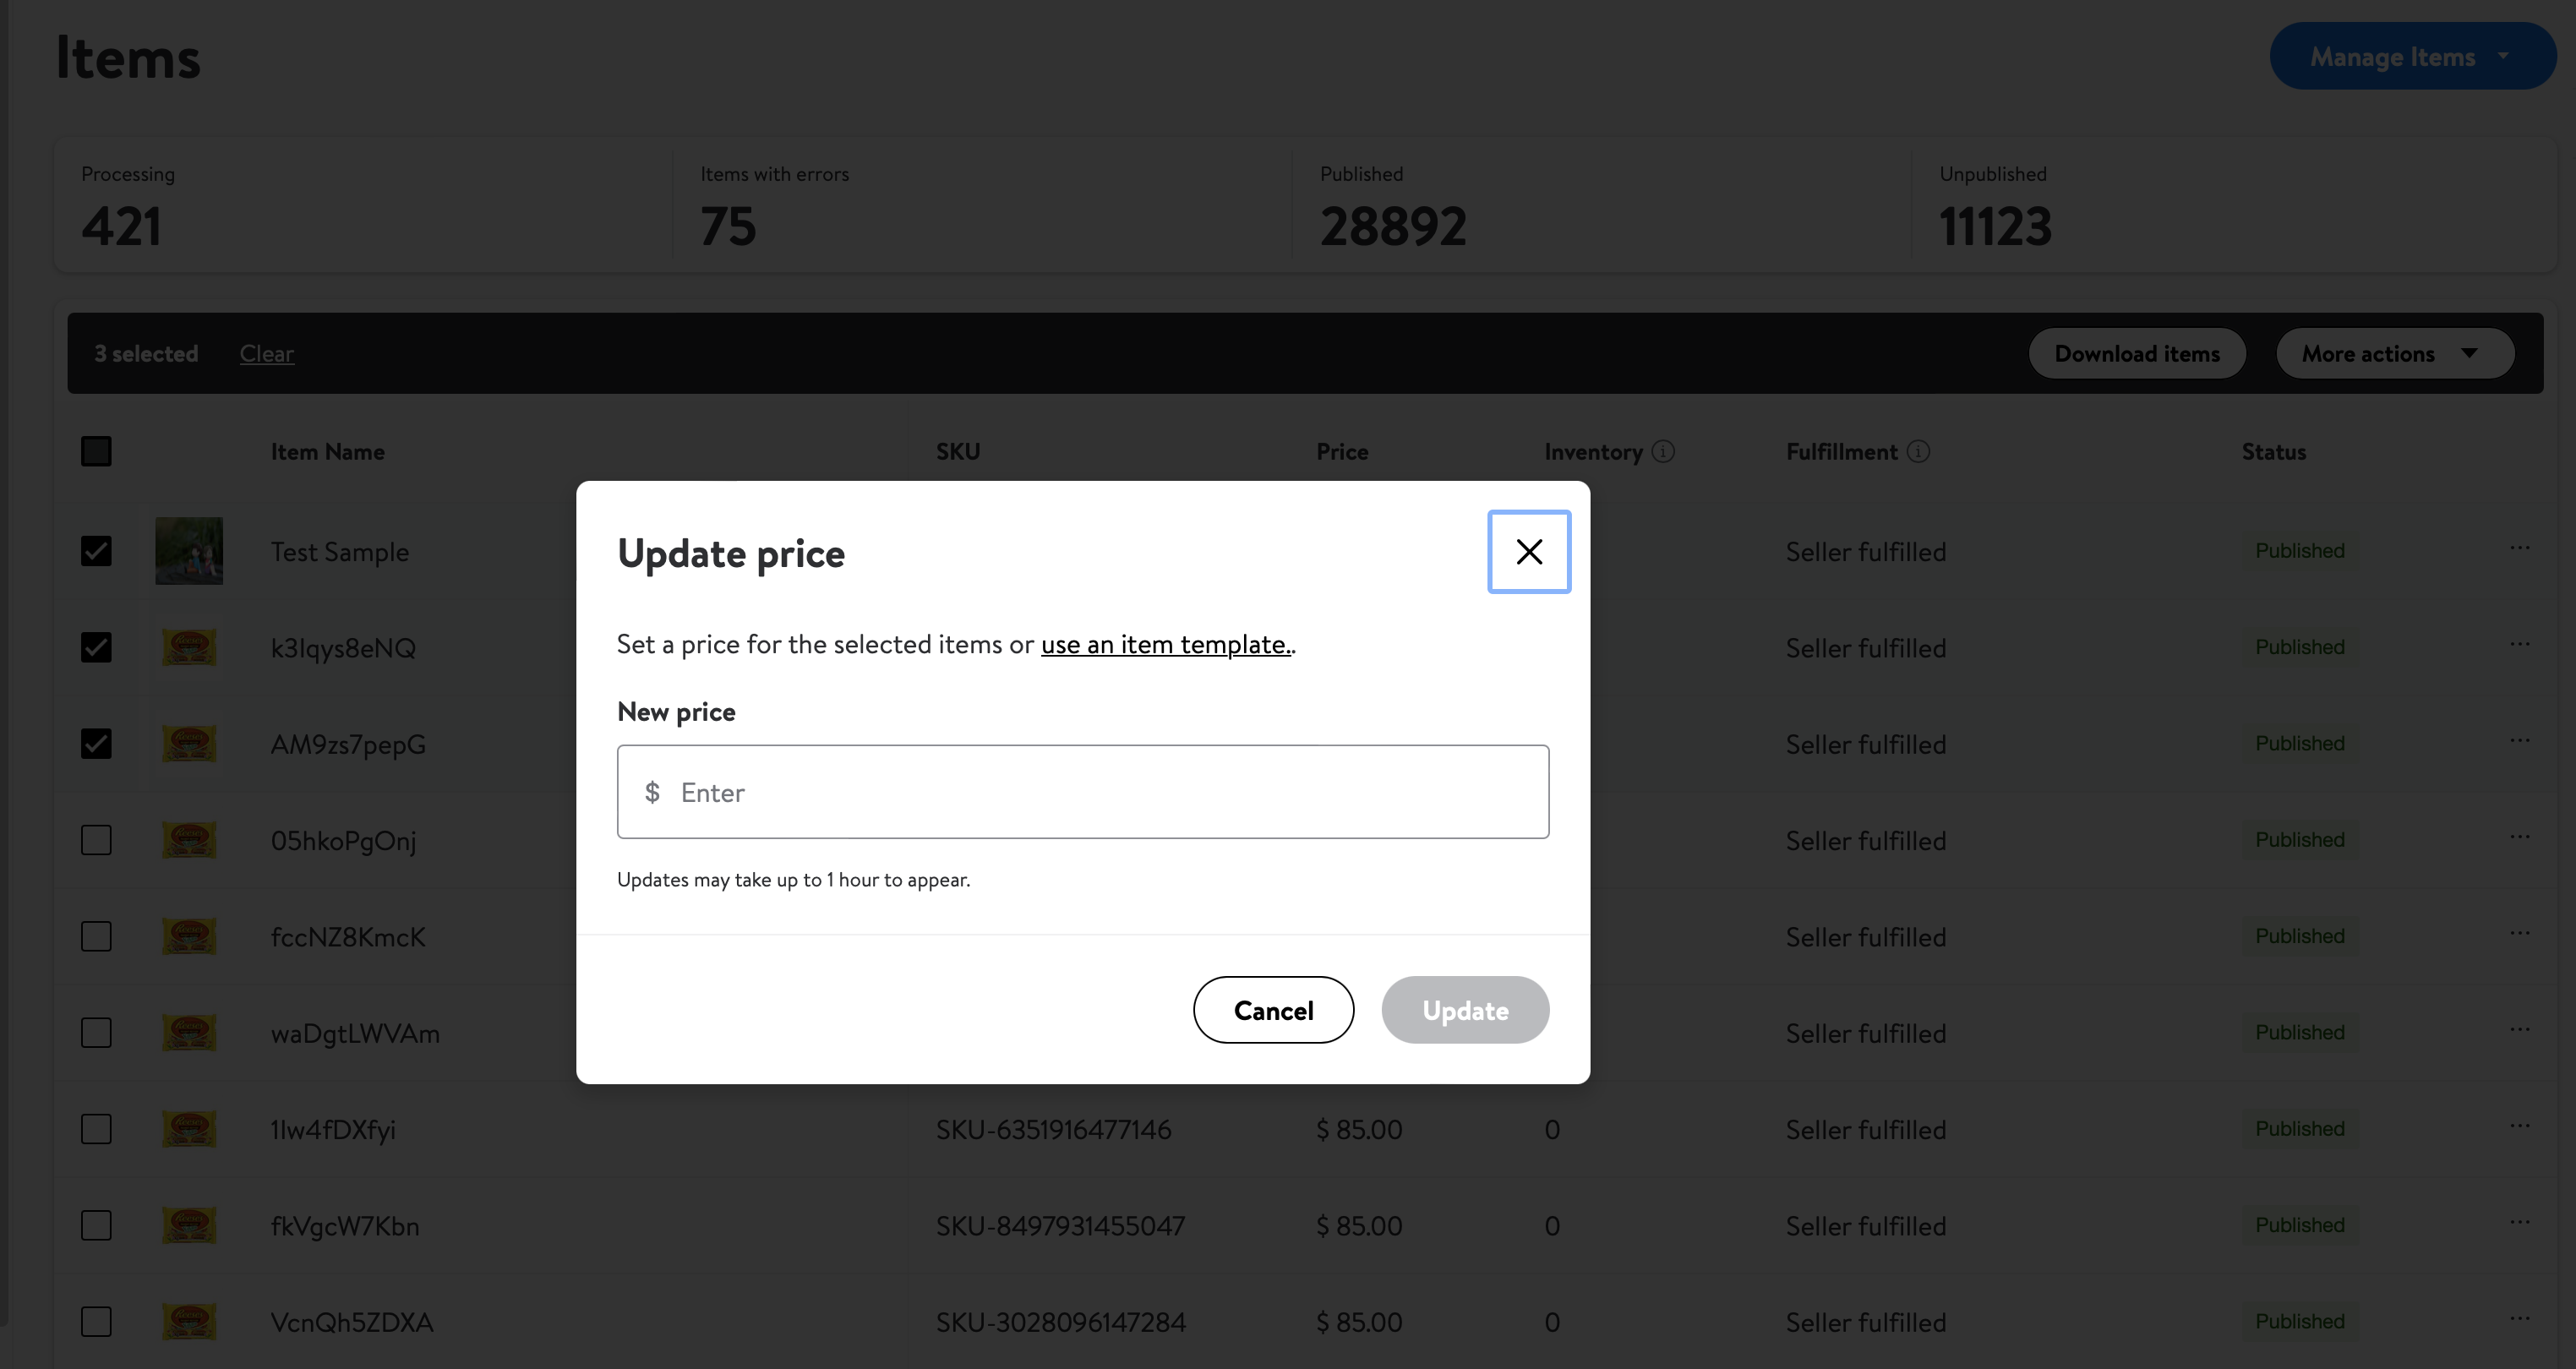
Update an Item's Price
- Click on the price in the Grid for both single or multiple items by selecting the item/s through the checkbox/es.
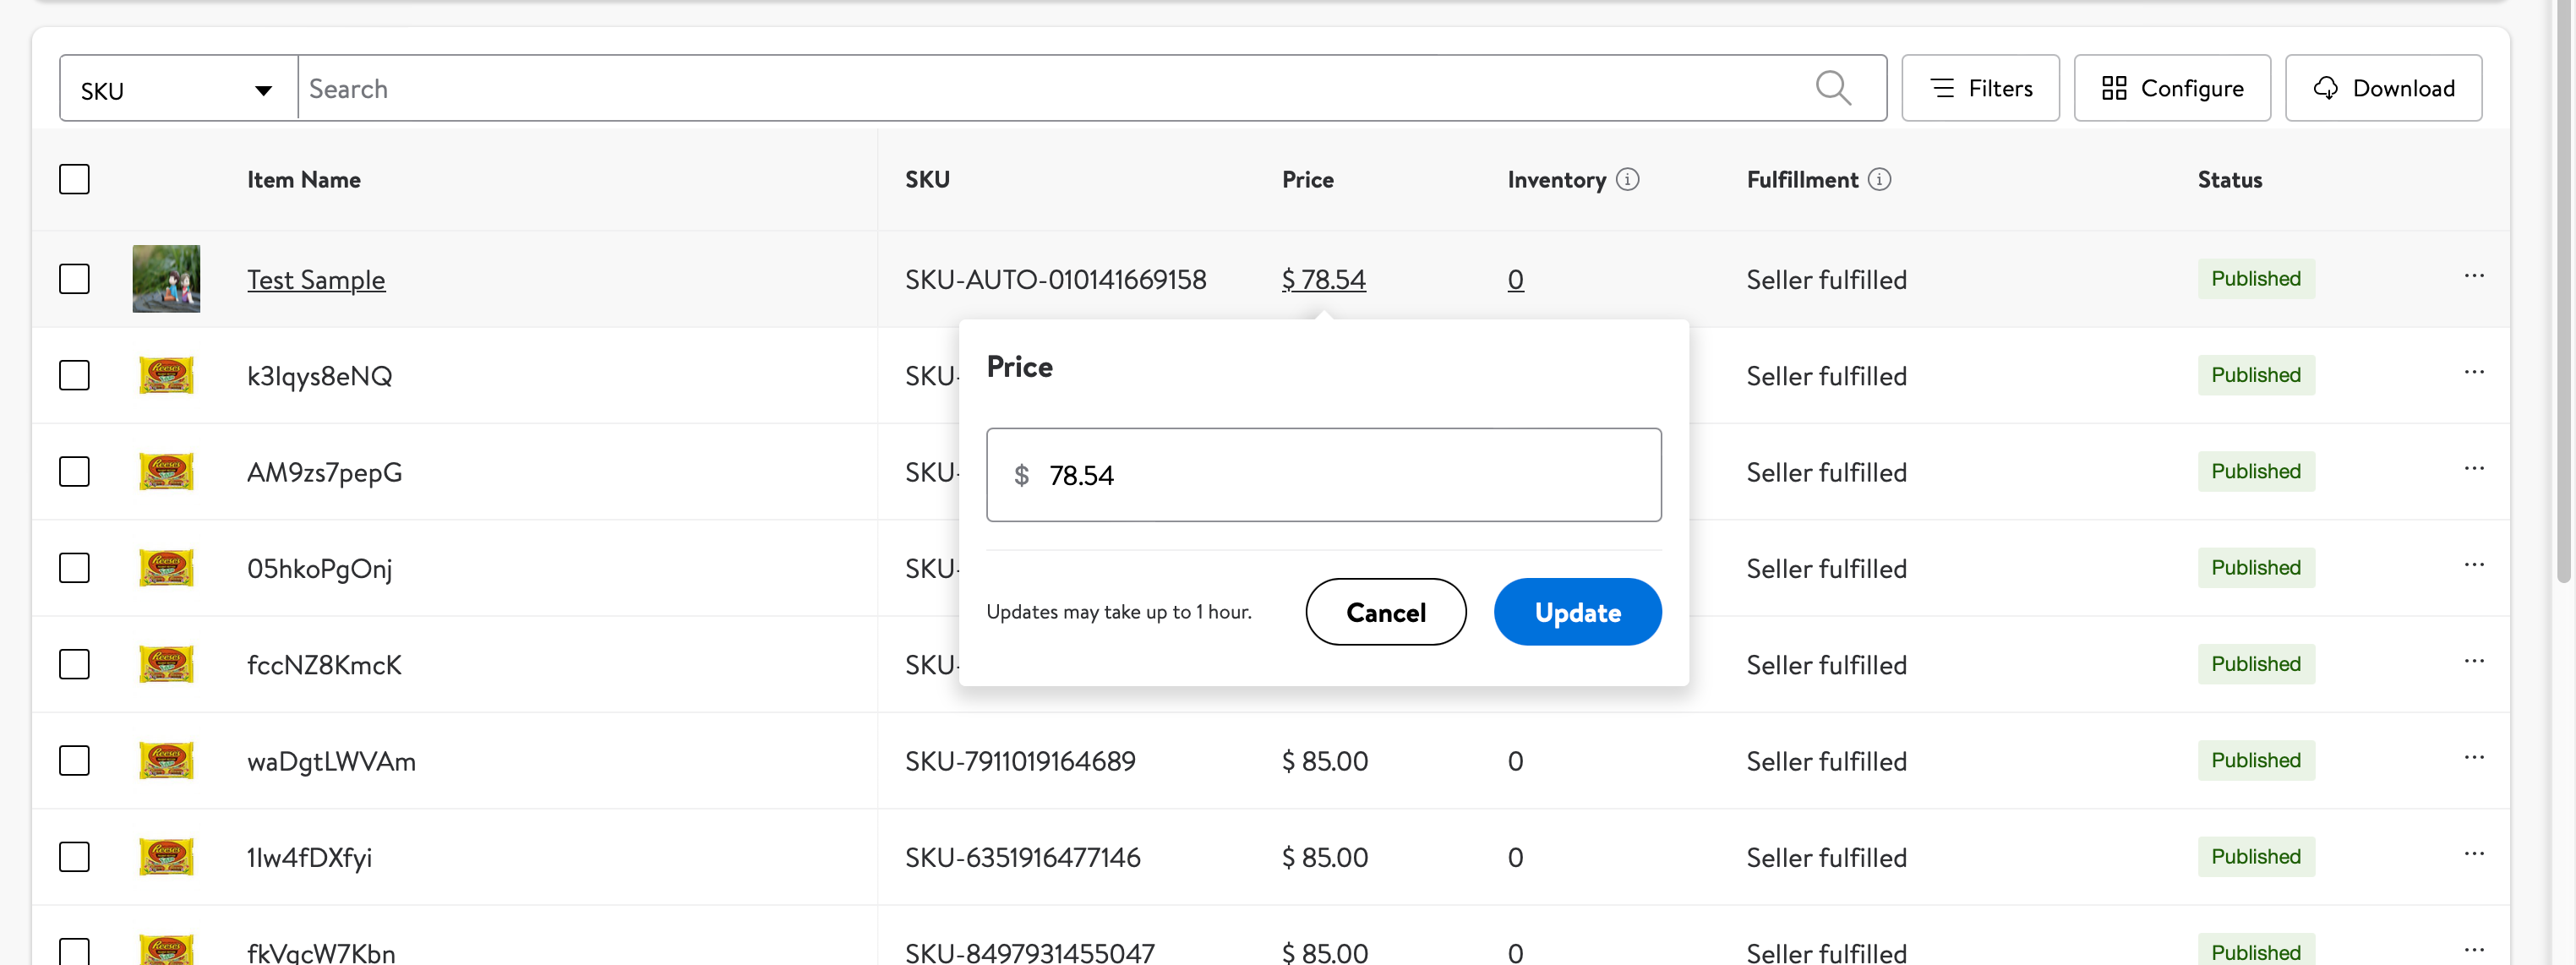
2. Enter the new price and click Update Price.
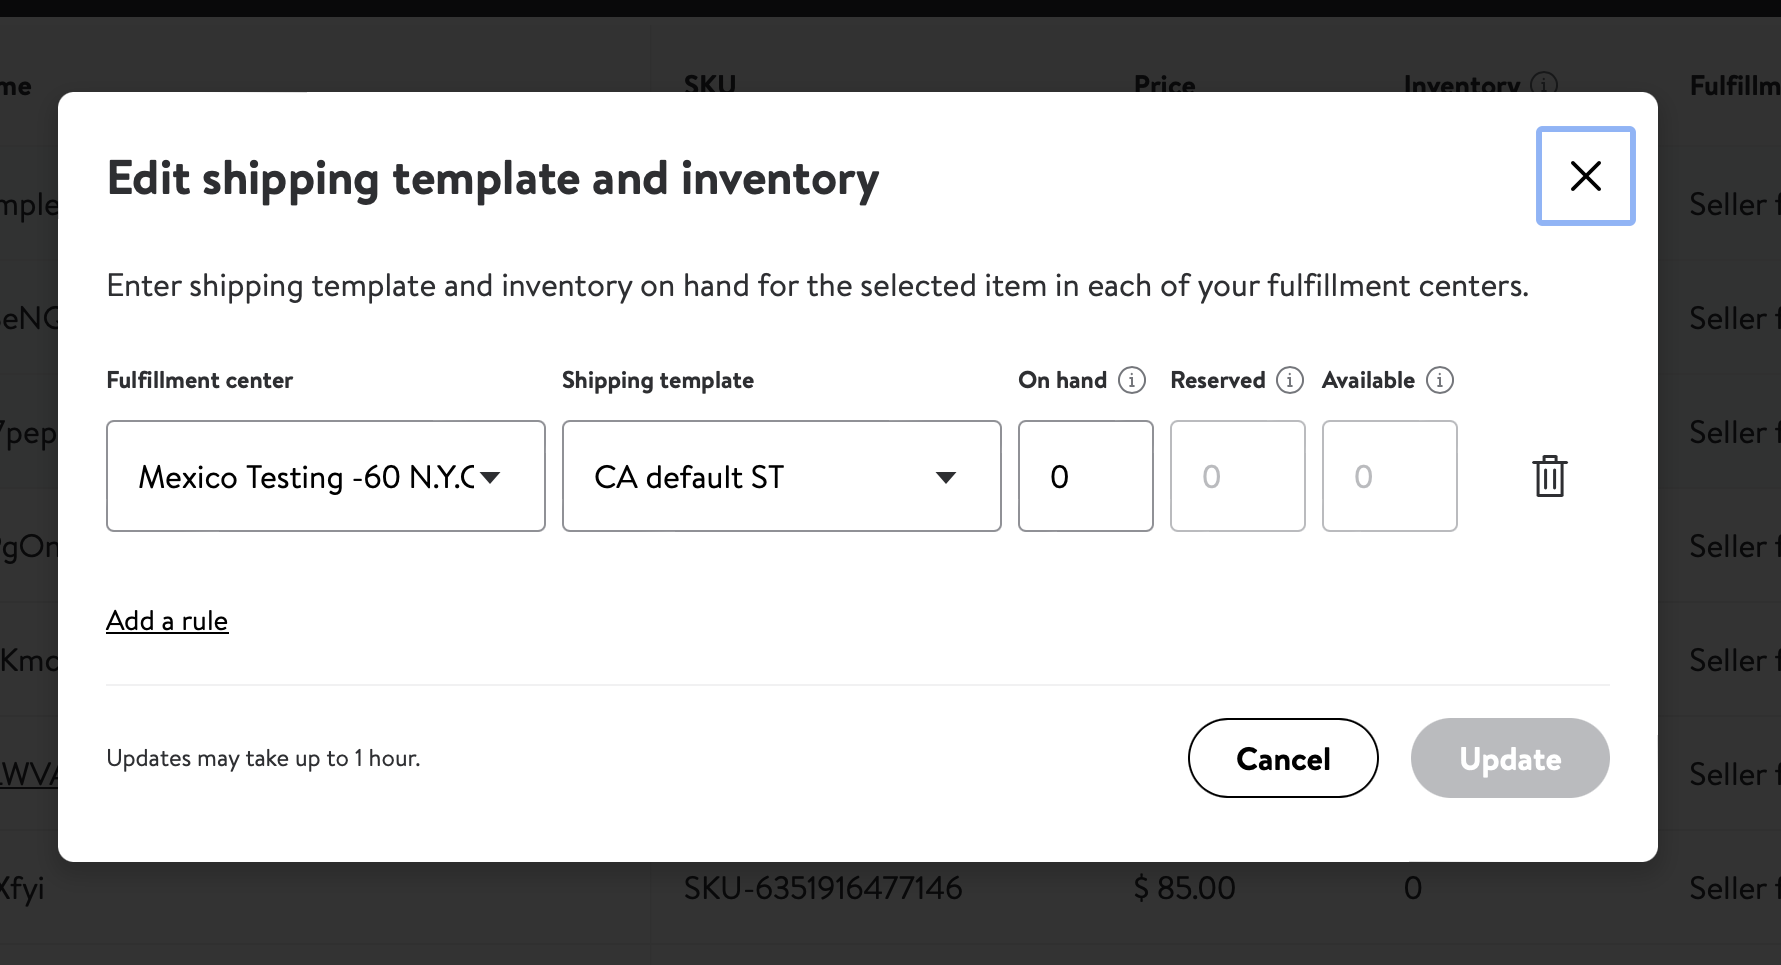
Update an Item's Inventory
- Select item/s via the checkbox on the left of the page.
- Click on the More Actions dropdown menu.
Click on Update Inventory - This has the Multi-Warehouse (MWH) experience for all non-WFS Sellers. In the same pop-up, we have edit Shipping template experience as well.
- For WFS Sellers, only WFS Enabled items will not have MWH experience (Edit Shipping Template, edit Inventory, edit Lag time pop-ups will be disabled).
- Lag time and Inventory updates have been decoupled.
Retire an item
You should retire an item only when you want to stop offering that item on Walmart.ca. When an item is retired, it will not be available for sale, but its data will still be stored in our systems. You will need to find a way to reuse the SKU or Product ID elsewhere.
- Click on the checkbox next to the item or items you want to retire, then click on Retire Items option from the More Actions dropdown menu.
- From the Retire item(s) dialogue box, verify that you want to retire your item(s).
- Click Retire button. The item will be retired in 48 hours.
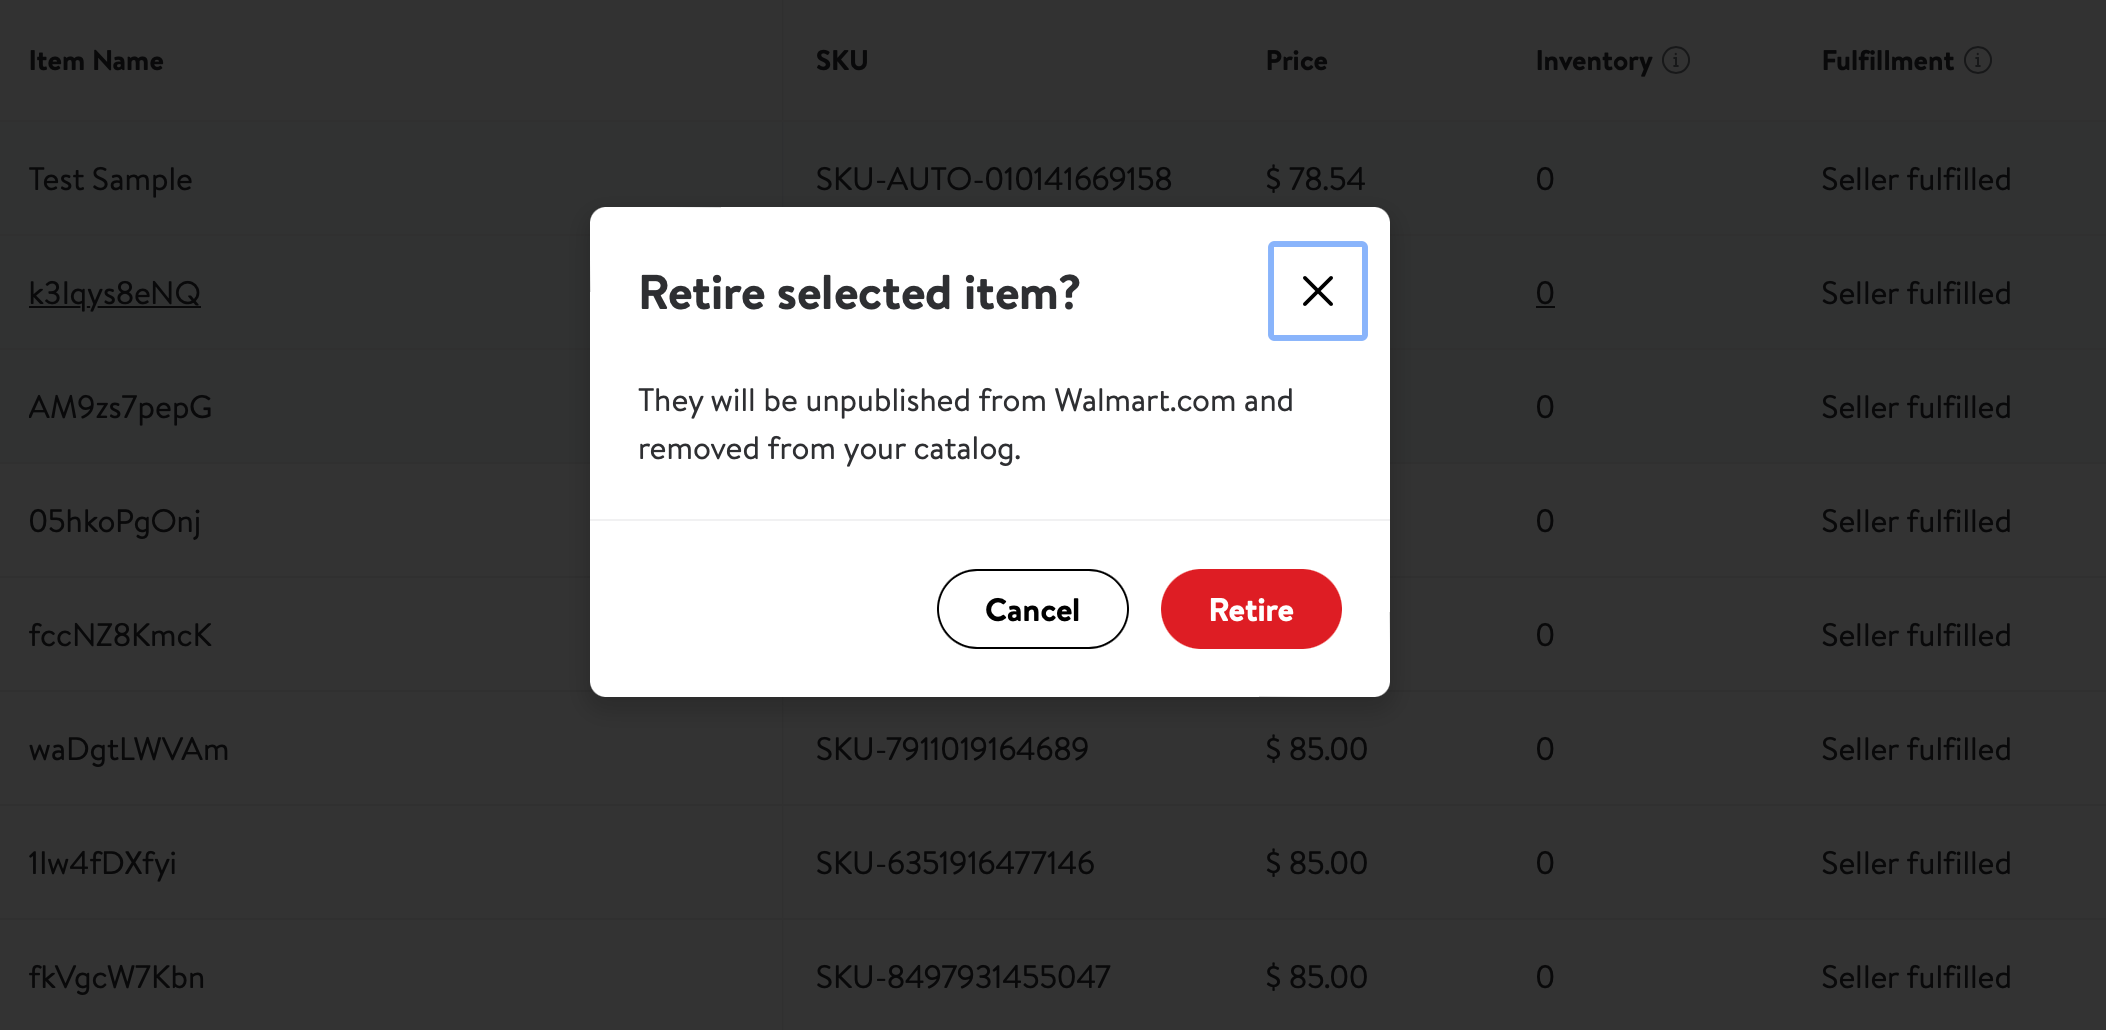
Please allow up to 48 hours for your item to be officially retired. Once it is retired, the Lifecycle Status will be updated in the grid to Retired and the Status of the item will change to Unpublished.
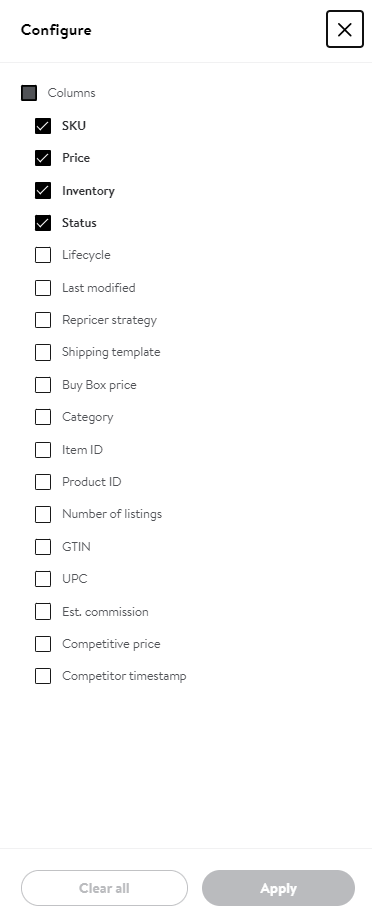
Customize the Grid using the Configure Option
- To customize the columns that you want to see on the Manage Items dashboard, click on the Configure button in the Action Bar and choose the columns you would like to see displayed. This will open up a window for you to either:
- Show or hide specific columns: To add or remove columns from your view, check or uncheck the column's name.
- Reorder the columns: To reorder the columns in the Grid, drag the columns into the order you want them to be in.
2. To apply your changes, click Apply and the Grid display options will be saved.

Downloading Your Items into an Excel Report
For more advanced filtering and sorting or to download your entire catalogue, you can download your items into a Microsoft Excel file.
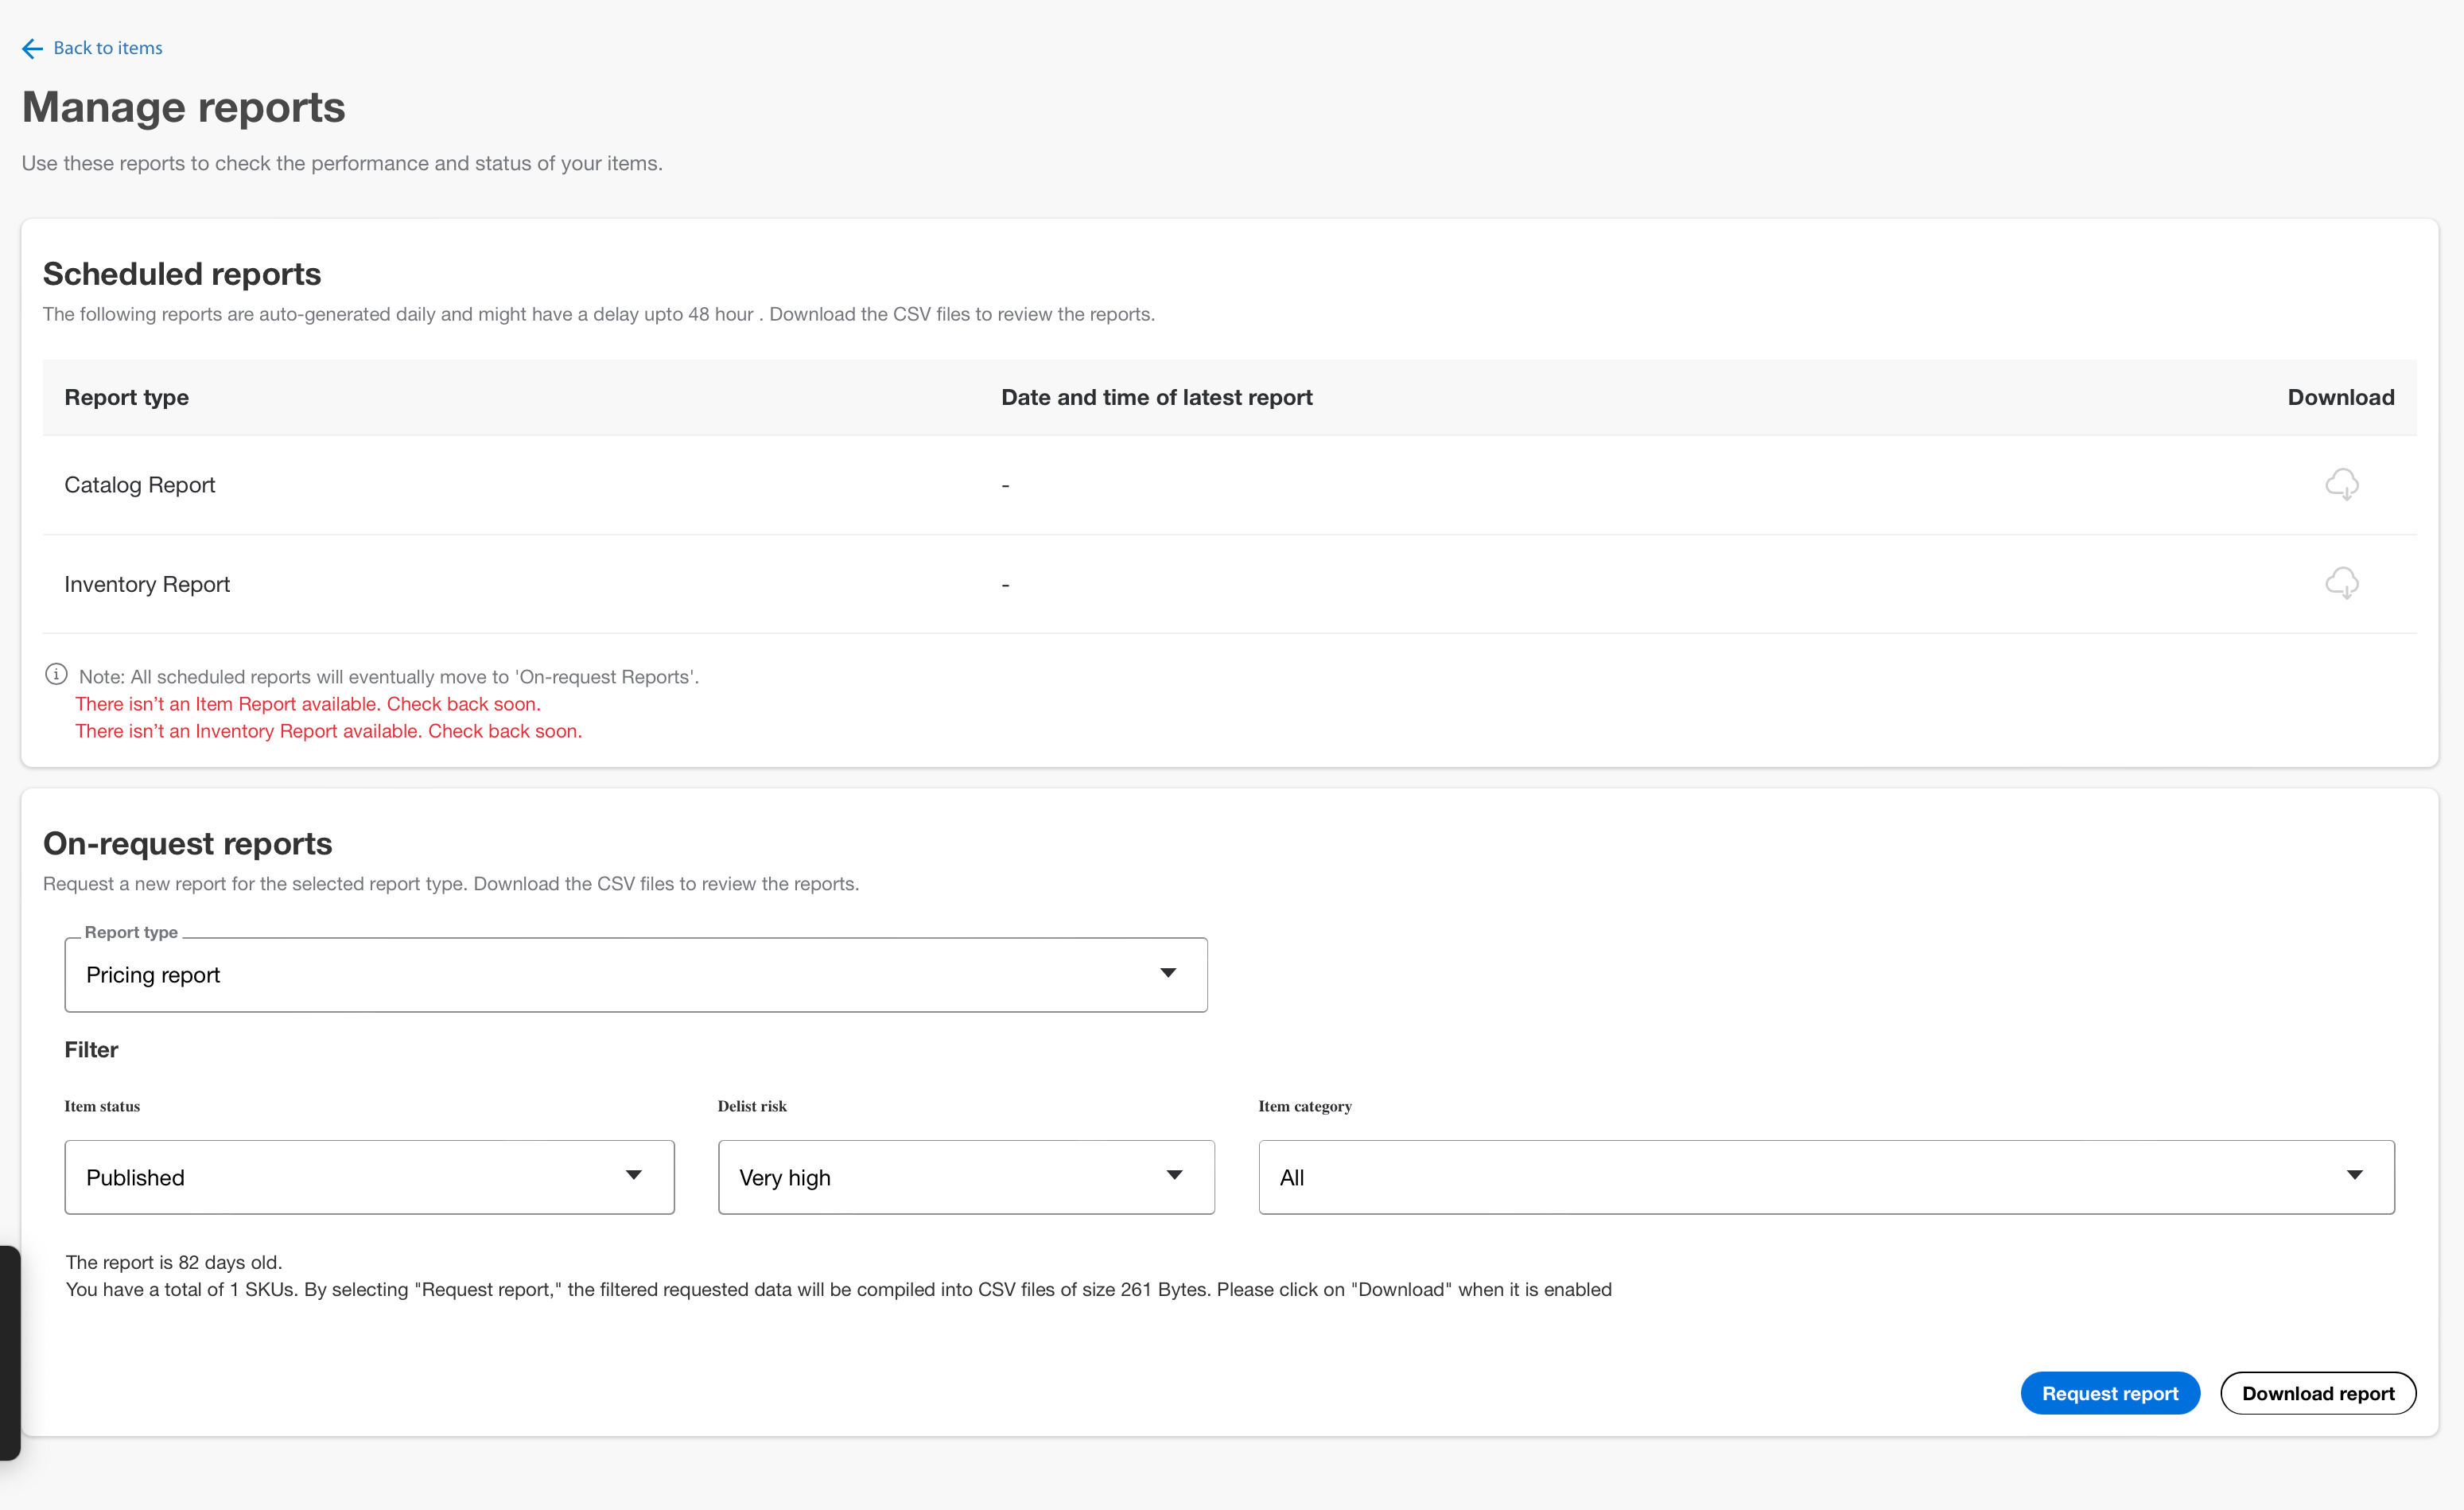
- Click the Download icon from the Action bar. You can export selected rows (only applicable if you check off rows in the Grid), export the page you are looking at, or download your entire catalogue. Also, you can download the full catalogue report by going to the Manage Reports page.

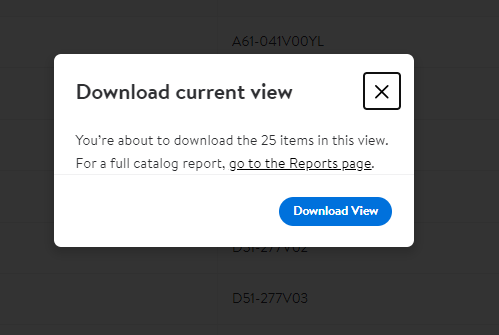
If you select Download Catalogue, a dialogue box will pop up, allowing you to download your Item Report, which contains detailed information about your entire catalogue. This window will display the last day and time that the report was generated, and the total number of SKUs in the report. We generate these reports every four hours so your data is as close to real-time as possible.
2. Click the Download Report button to download your Item Report as a Zip file.
- Do not follow the steps below if your catalogue has more than 1 million items. You should not download the Item Report from Seller Center because of limitations within Excel.
- Instead, you may obtain your Item Report using the get report call described in the API documentation. You must open the .CSV file in a program other than Excel.
3. Click on the Zip file. This will open a .CSV file.
4. Open Excel.
5. From Excel, open the .CSV file.